“Start your Project Based lessons with a good driving question” – this is what you will find in every resource on PBL. Hard as it might be to create, the driving question is paramount for project based learning as it provides its purpose and sets its context. So, ask yourself, what you will be focusing on with your students. Is it trying to find the best solution to the problem? If yes, is it abstract and academic or practical and concrete? Is it provocative and leading to discourse? Is it expected to inspire discussion or present and/or establish claim? Will it be one question for the whole class/team or a number of individual questions related to individual projects?
Researching materials on PBL and the Driving Question might prove a really daunting task. So, for a start, why don’t you check out the the ones I found particularly useful, not too lengthy and really inspiring.
AN ONLINE COURSE: A couple of years go I completed a PBL course with School Education Gateway. Although the course concluded, you can still use the resources HERE.
A WEBSITE: An absolutely fantastic website You for Youth with tonnes of information about PBL, rubrics, worksheets and tools of different kind.
AN ARTICLE:An article “In search of the driving question” by Andrew Miller on Edutopia investigating a number of types of driving question and what we should remember about while creating it.
A CHECKLIST(an many more) which you can find on Tony Vincent’s fantastic blog.
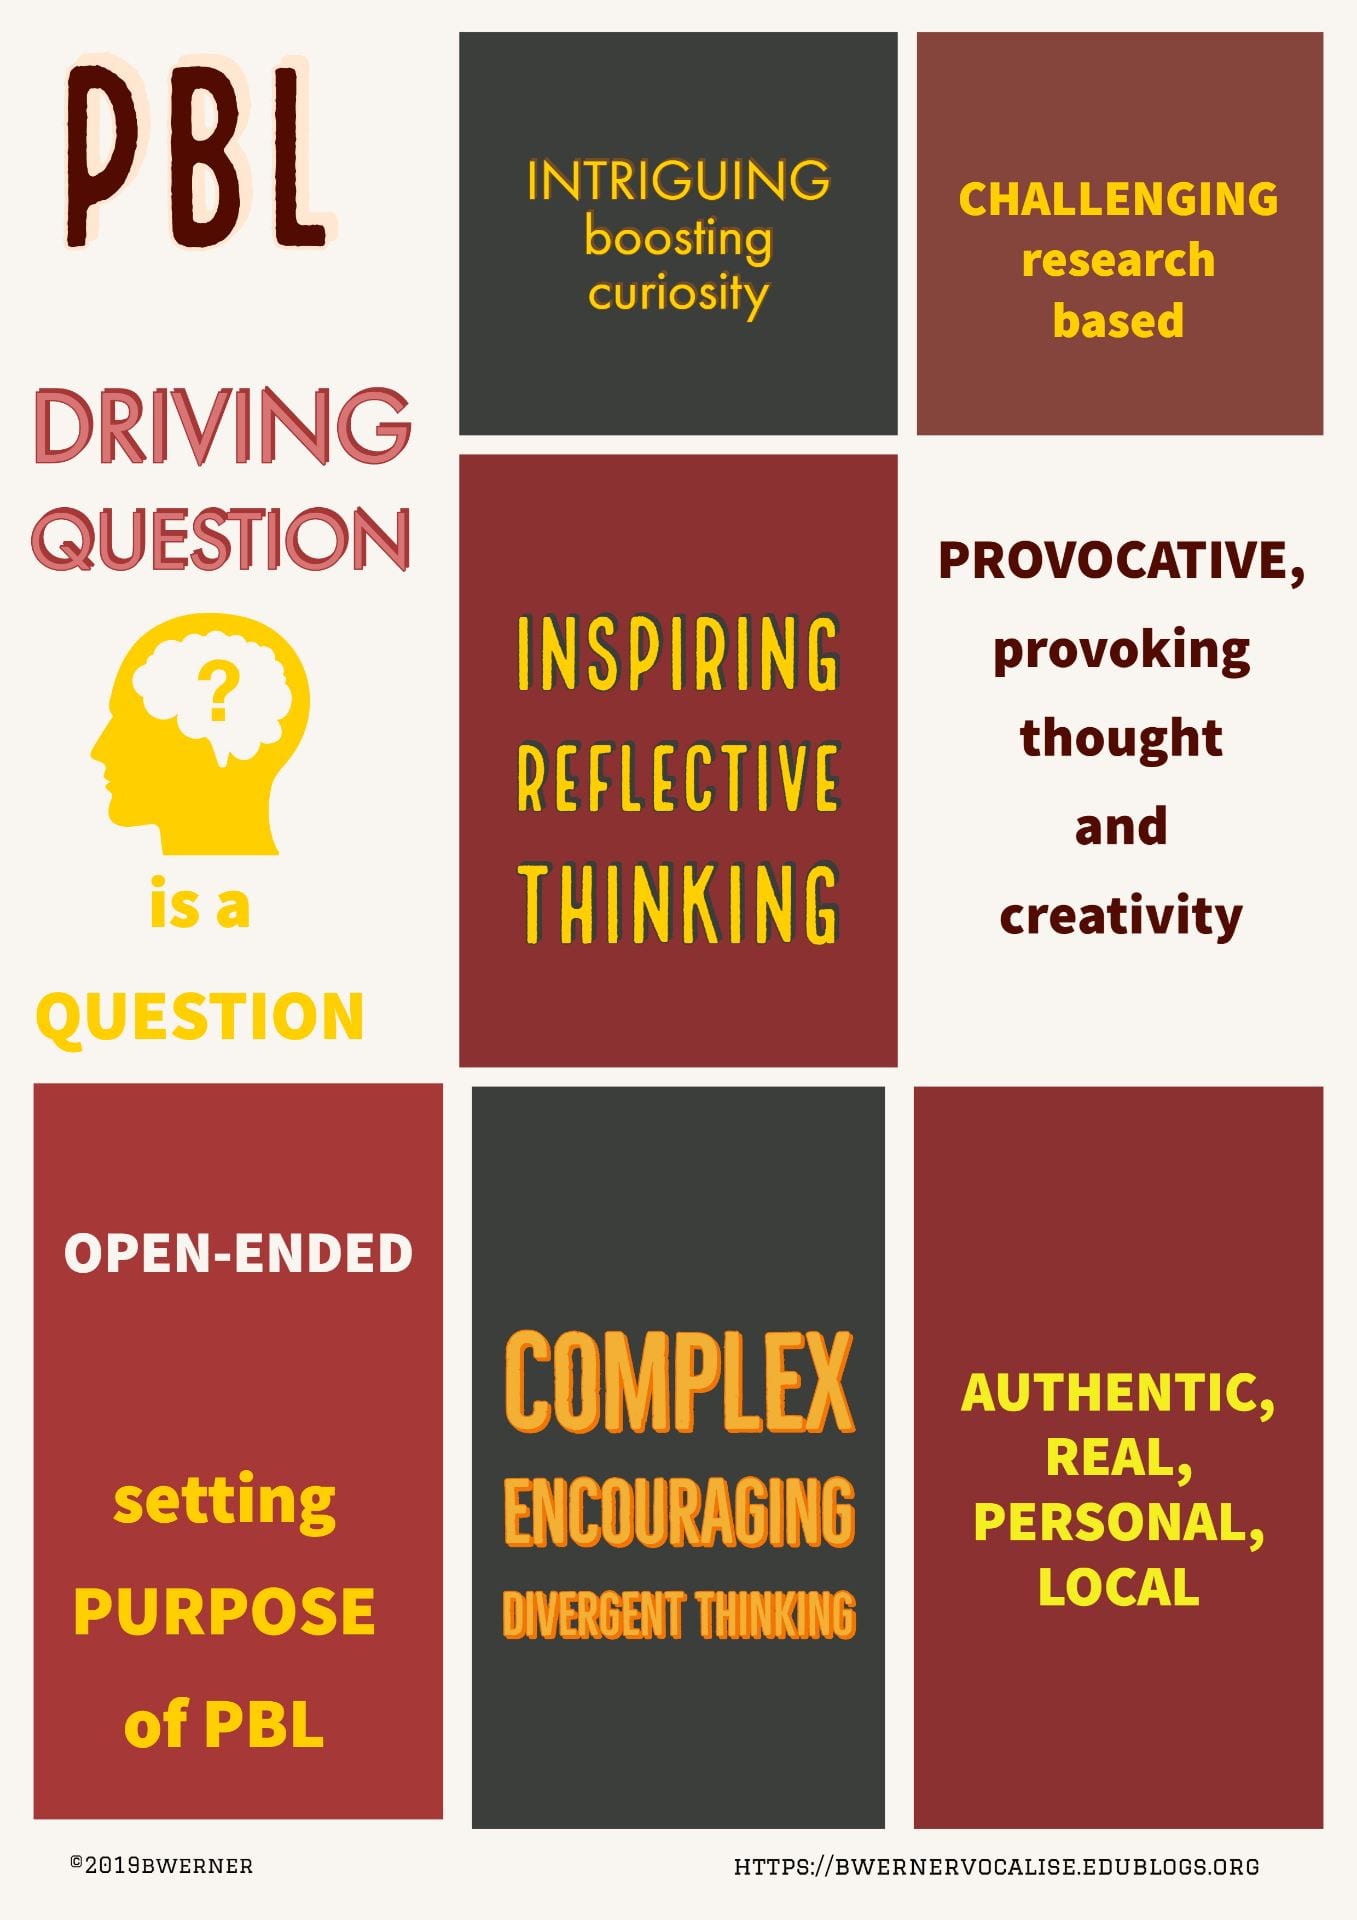
Have a look at the visual which, hopefully, will help you remember what a good driving question should be like.
Together with my students I decided that the product of a series of lessons on DIGITAL CITIZENSHIP (see this post) will be a visual (poster, leaflet, flyer) with DOs and DON’Ts. Although there is a number of very good tools, we decided on a choice of four.
Below a wee overview and a selection of students’ work.
have a look how Jen Jonson created a beautiful infographics in google drawing
easy, fast, efficient, user super-friendly, FREE option is more than enough for your classwork
VIDEOS: your students can upload videos, add text , icons, music or voice without any sophisticated skills 🙂
in-house G-drive app; you can create: diagrams, posters, drawings; mindmaps, or concept maps;
good for individual work as well as collaborative project
FOR TEACHERS: just ditch a coursebook (joking) and prepare your own dynamic interactive lessons including videos for
example.
CANVA
LUCIDPRESS
a tutorial on how to use Canva – one of the best tools for any visuals
A drag-and-drop tool enabling you to produce wonderful visuals. Available as a stand-alone desktop tool or an in-built app (in G-Drive).
absolutely fantastic program using a drag-and-drop format, full of free icons, banners, templates, pictures, you name it. FREE version is enough;
a piece of advice: apparently, not good if you want to create a trademark and use it. Copyright issues. But for school use it is absolutely fine. If you want to find out more about legal issues, read an article by N. Styles here.
You can produce brochures, leaflets, banners as well as documents such as CVs, magazines or certificates. FREE option full of templates, icons or images.
VERDICT:
SPARKS – gold medal for the VIDEO creation tools and for the fact that is is really FREE !!!!!!!!!!!!!!!!
CANVA – gold medal for fantastic tools for static iamges/visuals
GOOGLE DRAWINGS – gold medal just because it’s google (joking,joking) – for simplicity and collaboration option
LUCIDPRESS – gold medal for simplicity and wide range of free tools
Below, simple visuals created by my students on DIGITAL CITIZENSHIP
Before we go on a fully deserved summer break, please, let me share with you a couple ideas that you might find useful if you are thinking about enhancing your classes with the use of technology without spending too much time on it. On the contrary, you will save time doing that. And this is only a taster without going into detail how to use these programs.
HYBRID (or BLENDED) TEACHING/LEARNING is the answer.
Ask yourself a question –
What type of classes do I teach?
Class sessions take
place 100% in a traditional classroom. Technology is hardly ever used.
face 2face model
Class sessions take place in a traditional classroom,
but technology is used to facilitate activities, deliver content,
and/or assess students.
Web-Enhanced/
Blended model
Internet-based activities comprise more than 50%
of the content and instruction
HYBRID MODEL
Nearly all or all instruction, interaction, and activities take place online
The technique that works very well for both – hybrid and blended models, is FLIPPING a class. Instead of teaching them and asking to practise at home, you ask them to learn/get familiar with the content independently and practice will take place in class.
Watch a short video explaining what a FLIPPED CLASS/CLASSROOM is.
There are tons of tools for flipping your lessons. I would like to encourage you to familiarise with the three. This is how I rate them but it is entirely my opinion. Plus, the more you practise with the program, the more you like or dislike it so these stars might look different in the future 🙂
*****Blendspace
****Google Classroom
**Tacck
I prepared the same set of tasks that NC4 students will have to do before our 1st meeting at college in these three programs. Please, ignore the content (dates, names of teachers, the quiz is short just for demonstration).
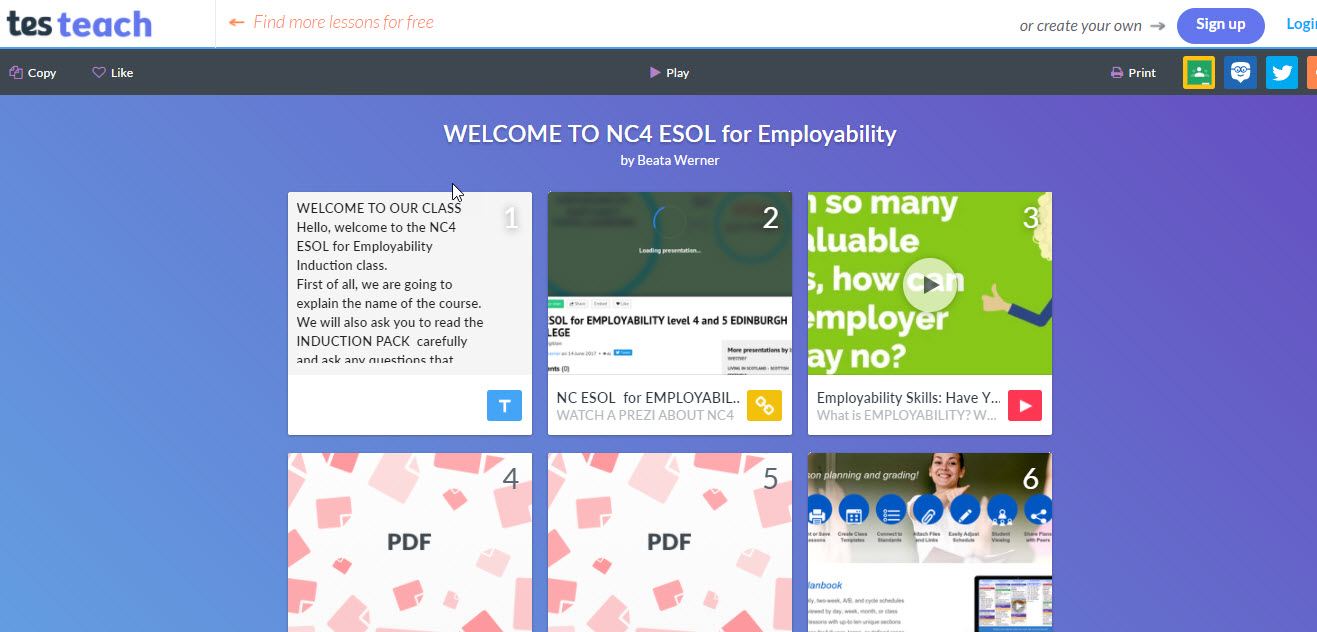
BLENDSPACE – this is what it looks like and you can access the class HERE. It’s, basically speaking, the work that you want your students to do before a face2face class.
PLUSES:
You can attach document in Word, pdf or directly from G-drive as google docs
You can attach images in various formats
You can attach links to videos, images, documents without worrying about breaching COPYRIGHT
You can make short quizzes
More about BLENDSPACE
Google CLASSROOM – it is a bit similar to Moodle but more intuitive and more visually attractive.
QUESTIONS – students will be able to post their answers and/or comment on other answers
ASSIGNMENTS – it’s basically what you want students to do as preparation for next classes or homework. You will be able to see who did and who didn’t submit the assignment. You will be able to comment on students’ work and give them grades/marks.
ANNOUNCEMENTS – it is basically speaking communication with students, passing messages, reminding of things
PLUSES:
You can attach document in Word, pdf or directly from G-drive as google docs
You can attach images in various formats
You can attach links to videos, images, documents without worrying about breaching COPYRIGHT
You can comment on and grade students’ work
You can schedule your posts (you can prepare them earlier and set the date they will be visible for students)
I’m still discovering new features of Google Classroom so maybe soon it will be a 5-star platform 🙂
There are a lot of google classroom tutorials so, please, watch this short clip to see what it offers.
As you will notice, I couldn’t upload pdf or word documents. Also, when I tried to upload an image, I kept getting messages about no space.
It’s a brilliant tool for creating presentations for example. I’m still finding out about its features.
So, have a look and enjoy. And if this seems overwhelming a bit, why don’t you try creating your own simple flip using TEDEd. Find a video, create a series of questions and flip it!!!!! I haven’t used this program myself but I used mini lessons prepared by others. For example this one about pronouns me, myself and I
STEP 1 – Finding AUTHENTIC or SEMI-AUTHENTIC contexts for my students. I investigated the NC4 ESOL for Employability context. Examples in a mindmap here.
LIVING IN SCOTLAND
SCOTTISH FESTIVALS
PRODUCING A LEAFLET
DIVERSE SOCIETY
PRODUCING AN INTERACTIVE POSTER
SELF-AWARENESS
WHERE DO WE COME FROM? WHERE ARE WE? WHERE ARE WE GOING?
Learning to fail and how to accept a mistake, learning from a mistake not to make it again is one of the ways to stimulate critical thinking, reflective thinking, divergent thinking etc 🙂 Nevertheless, encouraging students to “jump” into things without making sure you establish some scaffolding (visible or invisible) doesn’t seem a good idea to me. You need a certain level of guidance, modelling, prompts, to name a few, to succeed. Everyone, according to their needs – so use their background knowledge as scaffolding, use teacher or student modelling or guided practice. Why don’t you use prompts, step-by-step instructions, graphic organisers to help your students build the new knowledge. The time will come, they will not need your scaffolding as they will build or use their own.
Everyone, according to their needs – so we need to know our student well and recognise what type of scaffolding their need. Maybe we should help them build their resilience?
Praise in public but criticise in private? It depends, in my opinion, on the context. I always say to my student – I don’t criticise you. I criticise your work. And it does make a difference as they accept this criticism, often public, as part of their own and other students’ learning process.
So what is a PROJECT BASED LEARNING? According to The Glossary of educational reform, it refers to “any programmatic or instructional approach that utilizes multifaceted projects as a central organizing strategy for educating students. “. More here.
According to Da Vinci’s school, PBL is a “learn-by-doing curriculum that integrates core subjects with real-life problems to be solved”. More here.
And on the Edutopia website it reads that “Project-based learning is a dynamic approach to teaching in which students explore real-world problems and challenges. With this type of active and engaged learning, students are inspired to obtain a deeper knowledge of the subjects they’re studying.”
Watch the Buck Institute Video to get an overview of PBL.
Although the definitions my vary slightly, the key features of PBL are the same: real world connection and authentic or semi-authentic context, students collaboration, ownership of learning or multifaceted assessments.
John Henry and Mark Swiger put in very nicely in this wordle.
Watch this excellent video to find out what other features of PBL are.
SMALL PDF – good if you are in a hurry; no need to download anything; you can use it on your work computer. Also available as a chrome app for chrome users.
How to split pdf and extract pages? Easy peasy, trust me. Have a look .
My opinion: 5/5
2. I LOVE PDF – no need to install a set up program; little bit more limited I think but also nice.
My opinion: 4/5
3. SEJDA – very nice layout; no need to set it up. Free to a certain extent (see https://www.sejda.com/pricing). Nice feature of converting A3 into A4 J
Are you fed up with teaching the same stuff for ages? Are you annoyed with students asking you umpteenth time how to write a report? Would you consider asking your students to get prepared for the class at home instead of spending precious class time on theory?
FLIPPED CLASSROOM might be the answer.
I experimented with the tool called BLENDSPACE which allows you to create canvas with activities for blended learning (flipped classroom or project based learning). I played with the tool a bit and created a lesson about Personality for the Self-Awareness unit I teach. You need to sing up if you want to see the tasks attached to the files, comment in the comment boxes or do the quiz but you don’t need to do anything if you want to have a quick look only.


:max_bytes(150000):strip_icc():format(webp)/principles-of-art-and-design-2578740-v31-5b72d965c9e77c0025b80a2d.png)